Overview
The NexSens 5100-OEM is an iSIC data logger with an integrated Ethernet controller that provides communication over LAN or WAN.
What’s Included
- Data logger with integrated Ethernet controller
- (2) Mounting flanges
- iSIC Kit
- (2) A75 Gland fittings
- (5) Desiccant packs
- A72 RS-232 interface cable
- iSIC resistor pack
- A78 CAT5E patch cable
- DB-9 null modem adapter
- Grid connect driver and utility software CD
Field Installation
1. Mount the data logger to a wall, pole or other secure location above flood stage using the supplied mounting flanges.
2. Connect sensors to the data logger. See the sensor interface manuals for wiring and other details. Bring any cables into the enclosure by removing a port plug and installing an A75 gland fitting from the iSIC kit.
3. Power the data logger by connecting an A60-OEM cable to the MS4 port on the data logger and wiring the red and black leads to an external 12V power source.
Setting up a Connection
Note: If operating on a network without a DHCP server, refer to the 5100-iSIC manual for setup instruction.
1. On the computer that will be connected to the iSIC, insert the Grid Connect software CD.
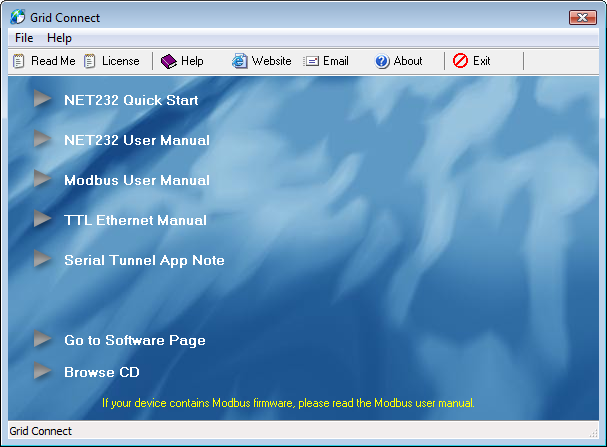
Figure 1: Grid Connect Software Installation Prompt
From the Software menu, install Device Installer and the COM Port Redirector (This appears on the computer as CPR after installation).

Figure 2: Grid Connect Software Page
2. Using the CAT5E Patch Cable, connect the iSIC to the same local network the computer is on.
3. Connect the A38 grounding kit wire to the copper lug on the bottom of the 5100-OEM data logger and the other end to an appropriate earth ground.
4. Power the iSIC. Observe the green blinking LED in the hole at the end of the analog terminal strip (remove the face plate to see this). This only blinks for 15-20 seconds during warm-up to confirm that the data logger is powered and ready.
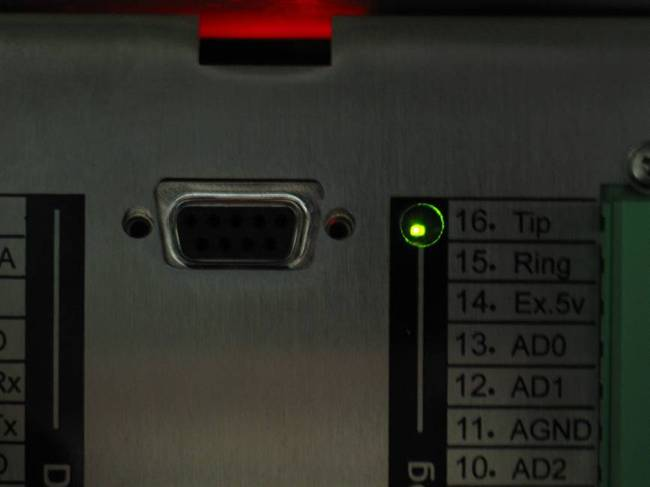
Figure 3: Blinking Green LED Light
5. Open the Lantronix DeviceInstaller from the start menu and click Search. If multiple devices are displayed, match the hardware address with the same address on the label located inside of the 5100-OEM enclosure lid. Record the IP address.
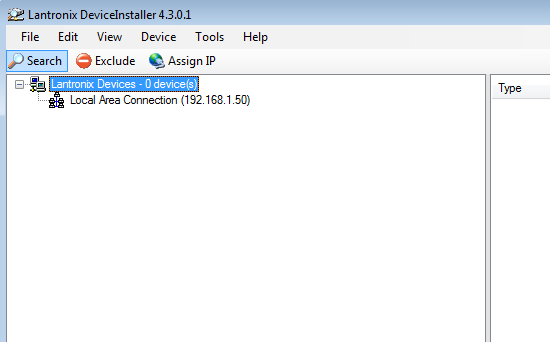
Figure 4: DeviceInstaller
6. From the Tools menu, click Ping. Type in the IP address and then click Ping.

Figure 5: DeviceInstaller
The connection has been made when “Reply from…” is displayed. Close device installer.

Figure 6: DeviceInstaller
7. Open the CPR Manager software. Click Search For Devices.

Figure 7: CPR Manager V4.3.0.0
The 5100-OEM should appear as a device in the Device List.

Figure 8: Device List in CPR
8. Click the Com Port that will be used. Note that the port must be accessible.
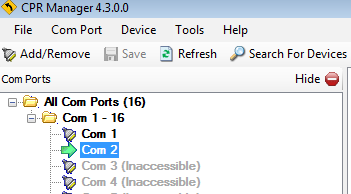
Figure 9: Select Com Port in CPR
If a Com Port is not accessible, click Add/Remove to add one. Select a Com Port in the Com Ports window and click OK.
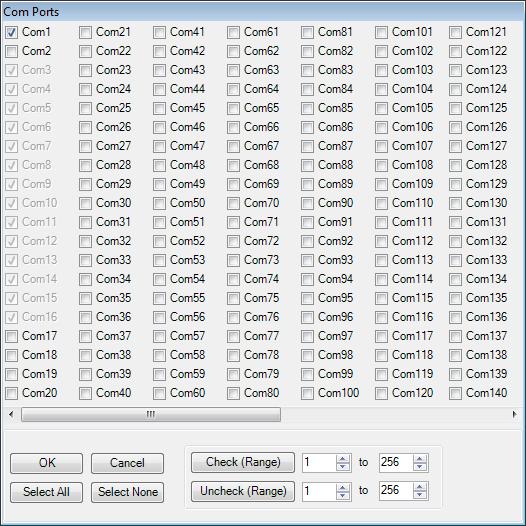
Figure 10: Com Ports window
9. Refer to the Settings tab to the right.
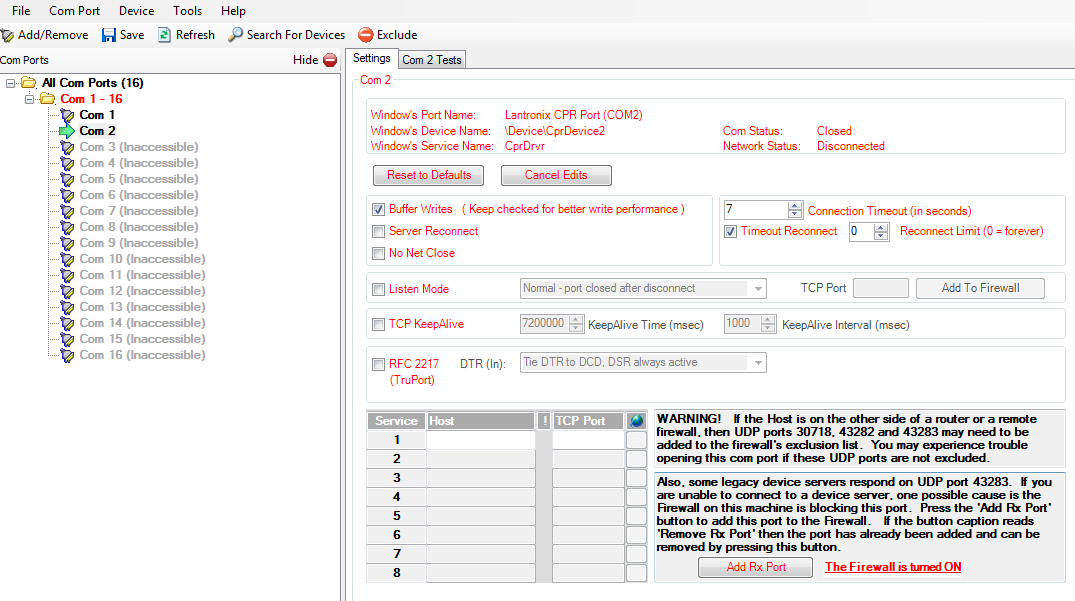
Figure 11: CPR Settings Tab
10. Right-click the 5100-iSIC in the Device List and select “Add to Settings”.

Figure 12: Device List
The device Host and TCP Port information will appear in the Settings tab.
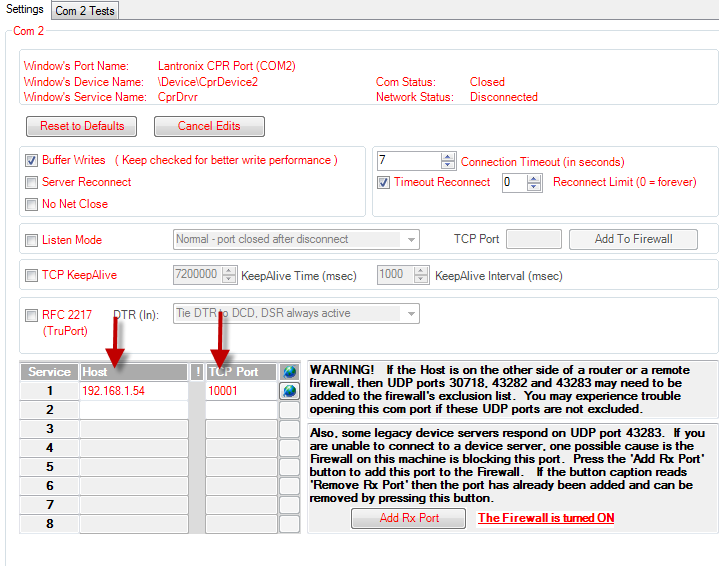
Figure 13: Settings Tab
11. Click Save and then close CPR Manager.
12. Install iChart software on a Windows computer. It may be registered online at http://www.nexsens.com/support/register-software. If the software is installed on a computer using Windows Vista, 7 or a newer operating system, enable admin settings so the software will run correctly.
13. Open iChart without a project file and select Advanced | iSIC | iSIC from the menu. The iSIC Setup window will appear.
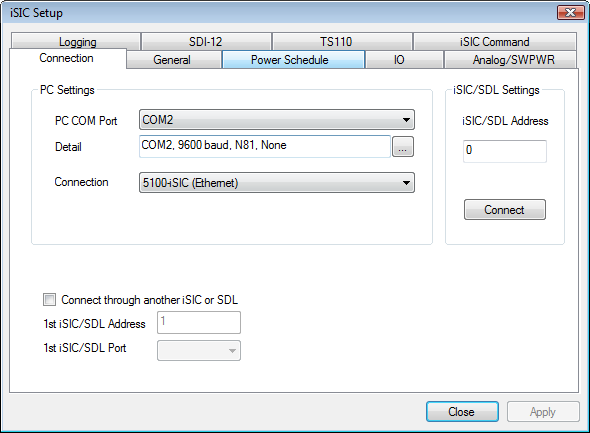
Figure 14: iSIC Setup Window
Select the correct COM port, then select “5100-iSIC” from the connection drop-down menu. Click Connect and then click the General tab. If the Status group box at the bottom of the window has valid entries, then a complete connection has been established.
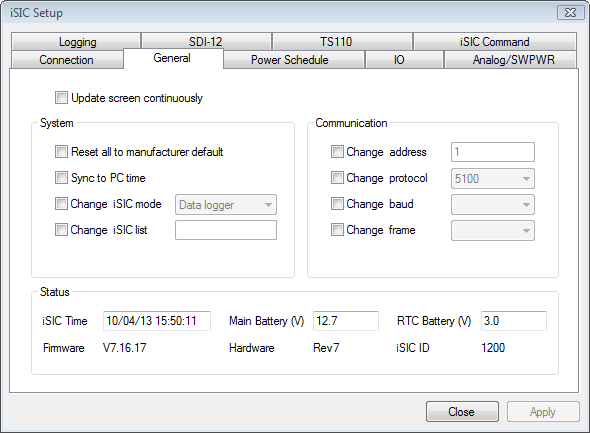
Figure 15: General Tab in iSIC Setup Window
Configuring with iChart
1. Ensure power is supplied to the data logger.
2. Add the 5100-OEM to an iChart project file.
- Follow the Setup Device Wizard to add a site name, and then select 5100-iSIC from the list of NexSens data loggers. Enter the correct PC COM Port at the prompt and click Test Connection to check communication. Add sensors in iChart by selecting the manufacturer and model number. Continue the Setup Device Wizard, make sure the 5100-iSIC is selected and click Program iSIC to conclude configuration.
REV: 13L22
