To establish communication with a 5100-iSIC data logger, the Ethernet modem must be configured for the local network by setting the static IP address, gateway, netmask, and other relevant parameters. Configuration of the Ethernet modem requires direct connection to the device’s serial port.
To connect to the Ethernet modem’s serial port:
1. Disconnect the modem RS-232 cable from the 5100-iSIC data logger DB9 connector.
2. Connect a null modem cable between the PC and Ethernet modem cable.

Figure 1: Connect to Ethernet module through null modem adapter
3. Open iChart and select Advanced | Terminal from the iChart menu toolbar. Make sure the COM port selected matches the COM port used on the system. Click on the ‘…’ next to the COM settings and change the baud rate to 9600. Click Connect. A white screen should appear.
Note: If iChart is unavailable, another terminal application such as HyperTerminal may be used.

Figure 2: Terminal window
4. Cycle power to the 5100-iSIC by removing the two fuses, waiting 10 seconds, and then replacing the Battery fuse.
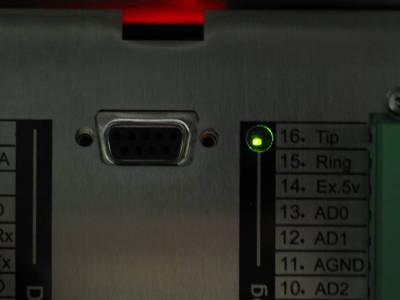
5. Watch the LED light on the 5100-iSIC. After the light stops blinking, there are 5 seconds to enter three lowercase ‘x’ in the terminal window. If the first set typed in does not pop up a message, try typing three “xxx” again. If no message appears, cycle power again and repeat.
Remember: there are only 5 seconds after the LED light stops flashing to enter the three ‘x’. The LED light will flash for a few seconds before stopping. Do not enter the three ‘x’ until after the light has stopped.

Figure 3: Blinking LED light
The following message should appear:

Figure 4: Initial Terminal message
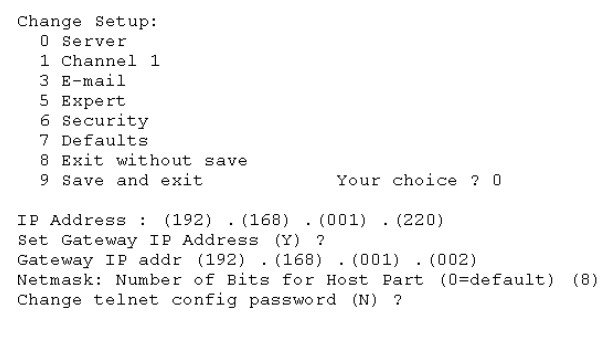
6. Press “Enter” on the keyboard and the setup mode will appear. At the prompt, select ‘0’ and enter in the IP Address and Gateway IP address that the 5100-iSIC will use on the network:

Figure 5: Example IP Address and Gateway IP
REV: 15C17
