If advanced diagnostics or repairs are to be performed on an SDL500 submersible data logger, the outer housing must be removed.
1. Remove the (4) 3/16″ hex screws from the main SDL500 body on the end with 5 ports (bottom bulkhead).

Figure 1: Remove Bottom Screws
2. Pull the bottom bulkhead off of the main body carefully.
Note: Since the SDL500 is air-tight the removal will take some force, but care should be taken to ensure the lid is not jerked open as a short ribbon cable is attached.
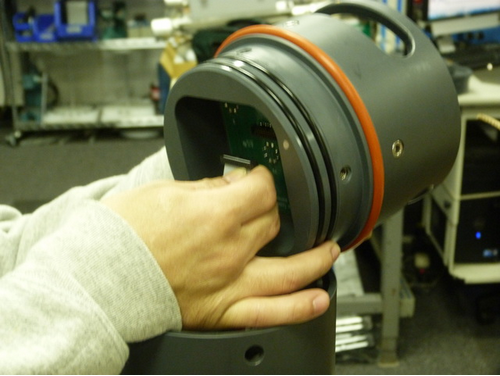
3. Disconnect the ribbon cable from the bottom section.

Figure 2: Disconnect Ribbon Cable
4. Remove the (4) 3/16″ hex screws from the main SDL500 body on the end with the battery compartment (top bulkhead).
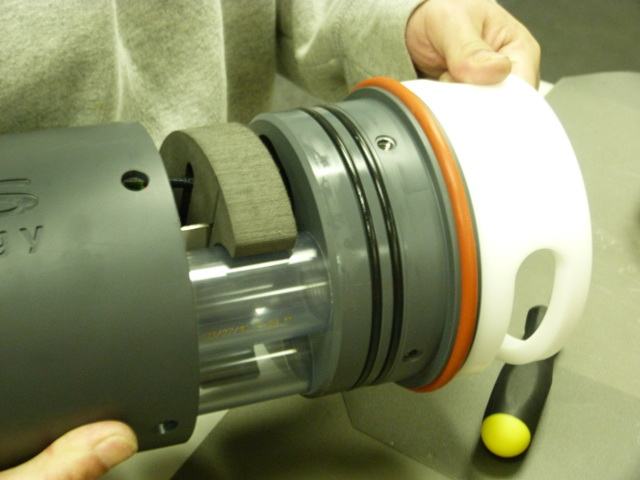
5. Remove the grey tube carefully while supporting the internal mounting plate.

Figure 3: Remove Main SDL500 Body
Once all diagnostics and repairs are complete, the SDL500 can be reassembled.
1. Slide the grey tube over the mounting plate and battery compartments.
Note: The tube must go on with “S” from NEXSENS facing the top bulkhead and opposite the battery tubes.
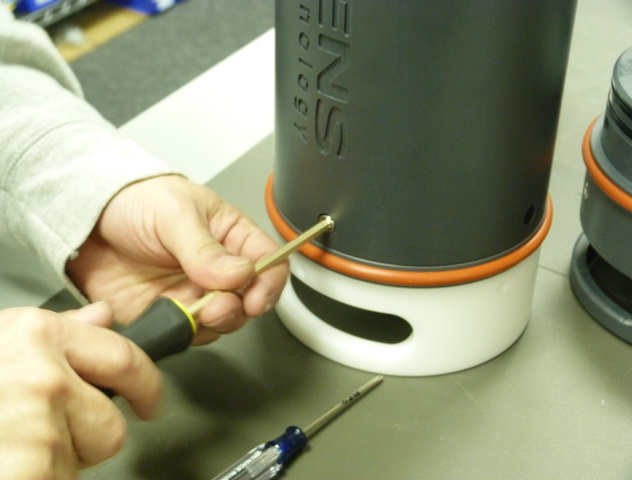
2. Install the (4) 3/16″ hex screws into the main SDL500 body.

Figure 4: Install Screws on Top Bulkhead
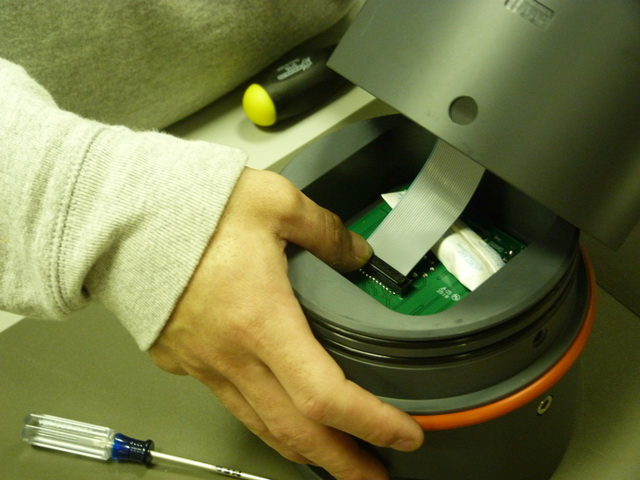
3. Plug the ribbon cable in as the SDL500 is lowered onto the bottom bulkhead. Ensure the desiccant pack is placed inside the bottom bulkhead as shown.

Figure 5: Connecting Bottom Bulkhead
4. Push down on the SDL500 and screw the (4) 3/16″ hex screws into the main SDL500 body. Since the SDL500 is air tight, there will be some force needed to keep the body down as the screws are installed. If no force is required, remove the body and inspect the double O-ring seal on the bottom bulkhead to ensure that it is not compromised from dirt or debris and that the O-rings are lightly lubricated with the O-ring grease provided with the SDL500.
REV: 14A27
