Direct Data Upload
Upload data from any X2 data logger to an Excel-compatible .csv file via direct connection using the CONNECT software and a UW6-USB-485P cable.
Upload Data Manually from an X2 Logger
- Connect the X2 logger to a PC and launch the CONNECT software. Test connection by reading the RTC clock of the logger in the CONFIG tab.
- From the CONNECT main window, select the DATA tab.
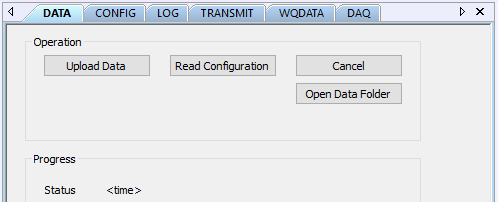
Figure 1: CONNECT | DATA tab.
- Select Read Configuration. CONNECT will scan the X2 and compile a list of all configured sensors and parameters.
- After loading the configuration, the Logger View tab on the left will display the system serial number and all sensors with their respective parameter list.

Figure 2: CONNECT reading the X2 sensor/parameter configuration.
- From the Logger View window, choose which parameters to upload by checking the box next to the parameter name.
- It is often desirable to skip over the (12) diagnostic X2 Meta Parameters to speed up the process.
- Upload speed will vary depending on the number of parameters uploaded, the logging interval, and the length of time of the field deployment.
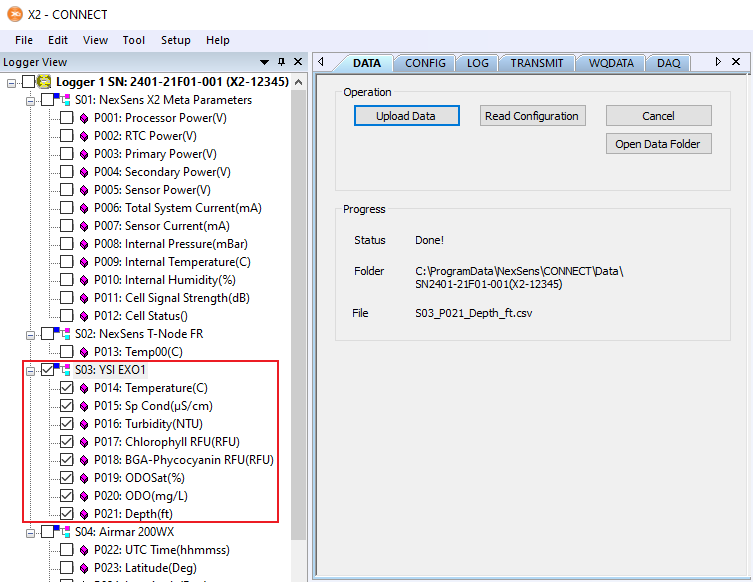
Figure 3: Parameter upload selection.
- Click Upload Data.
- The progress window will display the parameter number currently being uploaded.
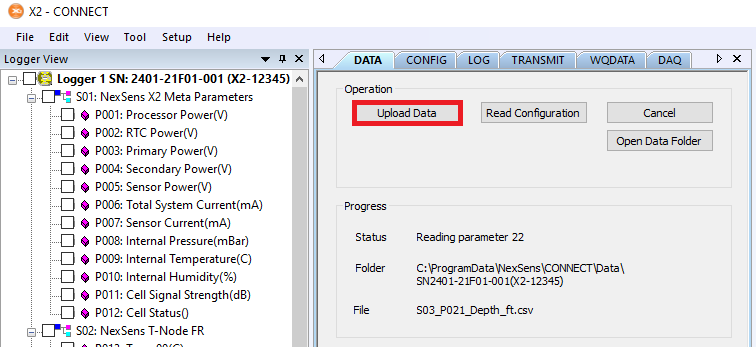
Figure 4: Data Upload in progress.
-
- Once all available data for the selected parameters uploads, a prompt will appear indicating successful completion.
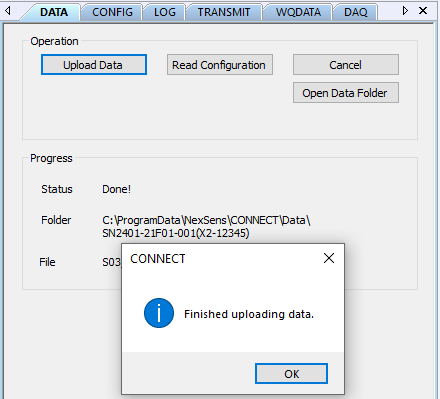
Figure 5: Successful data upload.
- Click the Open Data Folder button from the Data tab to jump to the .csv location and access the files.
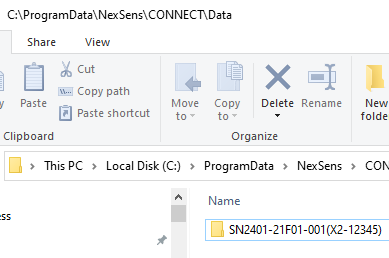
Figure 6: CONNECT X2 downloaded data folder. |
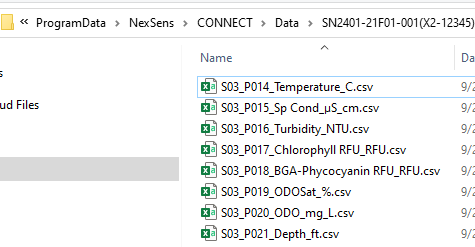
Figure 7: Individual parameter CSV files in CONNECT data. |
Download Utility Notes
- The CONNECT utility presently names files based on the parameter names and default units.
- Subsequent downloads from the X2 on the same PC will resume from the previous data point and append to the original .csv file if present.
- If the data files are deleted or transferred out of the CONNECT data folder, starting another download will create a new .csv (resuming from the same point).
- To re-upload starting from the first recorded data point, the CFG folder inside the CONNECT installation directory needs to be deleted and the program re-launched.
