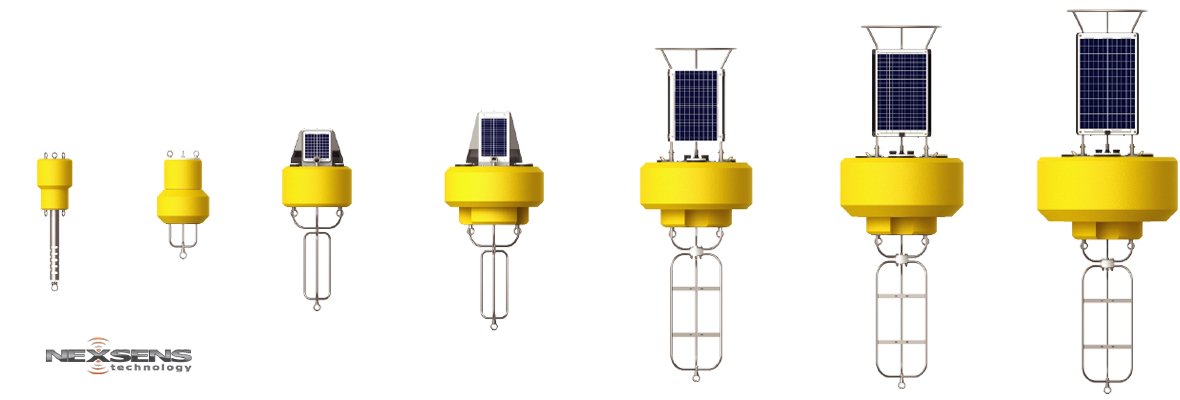
The aims of some projects can be met with data buoys carrying instruments right “off the rack,” but this isn’t always the case. In fact, many monitoring projects demand customized instrument packages.
This is why so many customers purchase the CB-Series buoy hulls, for integration with their own electronics using Campbell Scientific data loggers as well as other brands. The data well features a 10” diameter ID watertight cylinder for housing electronics, and NexSens offers several bulkhead adapters for the cable runs.
In this post, we’ll cover what you need to get started with this kind of data buoy and your own electronics, from wiring requirements to stability.
The NexSens CB-450 Data Buoy: An Overview
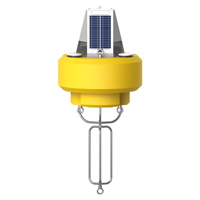
The NexSens CB-450 data buoy platform is built to protect sensitive instruments while taking punishment from the elements. It features a closed cell, cross-linked polyethylene foam hull coated with polyurea that offers 450 pounds of buoyancy. The buoy’s internal frame is crafted from stainless steel, and is corrosion resistant, with lifting eyes topside and mooring eyes subsurface for joining with both single- and multipoint mooring systems.
The CB-450’s integrated data well is among its most important features, allowing users to locate electronics and batteries inside the buoy hull. The standard data well lid features pass-through fittings for any electronics the user might want to deploy with the CB-450 data buoy, but the data well lid is also available as a NexSens X2-CB data logger assembly. Three (3) 10-Watt solar panels mounted on the buoy tower recharge the buoy’s internal batteries. The solar panels also support an optional LED beacon, along with cellular, RTU-R/C/I radio, or Iridium satellite telemetry module.
In all, every CB-450 Data Buoys includes (1) buoy tower; (1) buoy hull with a data well; (1) data well lid, either with pass-throughs for electronics or an X2-CB data logger assembly; (1) instrument cage; (3) bottom-side mooring eyes; (3) top-side lifting eyes; and (3) 10W solar panels. Each also features 450 pounds of buoyancy.
Assembling the NexSens CB-450 Data Buoy
The best part about assembling the NexSens CB-450 is that by the time the unit is shipped, all of the main components of the platform are assembled. However, it may be necessary to install accessories, which this post is intended to support. Here are the steps to take in order to ensure the buoy is properly assembled and ready to go.
First, attend to the instrument cage. With the ¾-inch bolt that comes with the unit, attach the cage to the buoy frame by locking the washer and castle nut. Tighten them carefully, and ensure that the notches in the castle nut line up with the hole in the bolt and the lock washer is flat. To line up the nut and the hole correctly, it might take a significant amount of force.
Next, to stop the cage from coming loose, simply place the cotter pin through the bolt hole, and then bend the pin’s long leg. If the water is turbulent, it might also be advisable to install additional security straps or weld the cage. In some cases, users have employed a CB-CCA cage clamp accessory to stop the cage from loosening or rotating; if this is your strategy, be sure to follow the clamp’s enclosed instructions for installation.
Next, turn your attention to the LED beacon. Remove the buoy’s top plate with a crescent or 9/16-inch socket wrench. Secure the beacon to the top plate using the flat washer, bolt, and lock washer provided. Use enough force to tighten the attachment, checking that the beacon is secure and the lock washer is flat, but avoid using too much force.
At this point, work on the deployment pipe. There are three (3) couplings with 4-inch, female-threading at the bottom of the buoy’s hull. There you can connect each NexSens 914M deployment pipe or other PVC fittings into an available coupling. Once deployed, you can still easily access your instruments deployed in 914M pipes. Just take the port cover plate, from the buoy hull top, off with a 5/16-inch Allen wrench or hex key, and access the instruments for maintenance and calibration.
Wiring and Connecting Devices
The CB-450 data buoy was designed to carry the X2 data logger from NexSens. This is why the buoy features a NexSens X2-CB data well lid with various ports for multiple devices. The X2 data logger itself is housed inside the X2-CB enclosure during deployment so the data well will remain watertight. The power plug on the bottom of the X2-CB that connects to a CB-A05-1/2 solar regulator and battery assembly will have been connected prior to shipment.
The top of the X2-CB data well lid is more interesting. Its UW ports allow you to connect your X2 to communication devices, external power supplies, solar panels, and a wide range of sensors, so you can monitor exactly what’s needed. There are five (5) sensor ports total. Each port offers a unique RS-232 channel, a separate switch power channel, as well as a shared RS-485 and SDI-12 bus. Sensors must have a factory-installed UW plug connector to be compatible with the X2-CB. There is no need to change power settings for devices when using the X2-CB due to the auto-recognition abilities of the logger.
The unit also features three additional ports: an antenna for radio, cellular, or Iridium satellite telemetry modules; one 6-pin input for a solar panel which requires either a solar cable or a specialized UW plug with a jumper to power the unit; and one Gortex vent, to relieve pressure from outgassing during battery recharging, in the data well.
A single non-addressable device can connect to each like-numbered sensor port on the X2-CB (P0 supports one, P1 supports a second, P2 supports a third). Two non-addressable sensors connected to P0-A and P0-B, for example, will interfere with one another as the communication channel is shared on the P0 port. A mV-RS485 adapter can be used to interface an analog mV output device with the X2-CB. The adapter converts the mV signal from a sensor to digital RS-485 Modbus output based on user-configured scaling.
To customize your unit with batteries, data loggers, sensors and/or telemetry modules, the CB-450 data buoy pass-through data well lid includes ports, pass-through fittings for securing cables, and a set of plugs. The lid includes six (6) pass-through ports, one (1) solar port and one (1) Gortex vent.
The Bottom Line
To learn more about integrating Campbell Scientific Loggers in Data Buoys, check out our online guide here. Or reach out to the NexSens team for more in-depth answers about your specific application.
Equipment
The NexSens CB-450 Data Buoy is designed for deployment in lakes, rivers, coastal waters, harbors, estuaries and other freshwater or marine environments.
The X3 data logger offers the latest in real-time monitoring technology with wireless communication, a large plug-and-play sensor library, and ultra-low power consumption.
WQData LIVE is a web-based project management service that allows users 24/7 instant access to data collected from remote telemetry systems.


0 comments