
Access a SDL-V2 SD Card
Caution!!!- Be sure to statically ground yourself prior to touching any of the electronics inside the SDL V2 logger or the SD card itself
Tools Required:
– 3/16″ Ball-Point Hex Driver (included in logger maintenance kit)
-Phillips Screw Driver
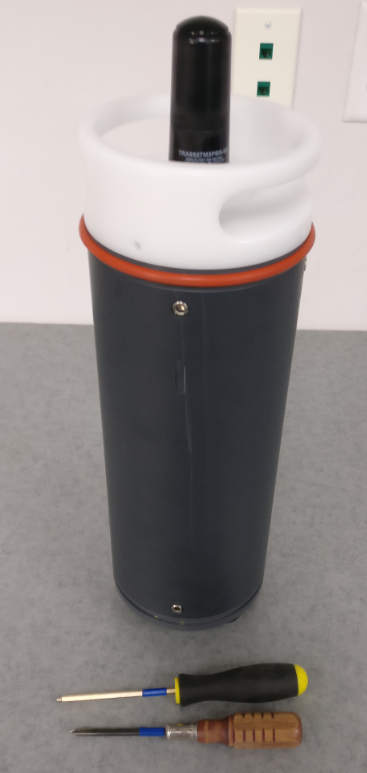
Tools required to open up SDL-V2
- Use the 3/16″ hex driver to remove the four screws on the bottom bulkhead of the SDL V2 (opposite the white battery lid).
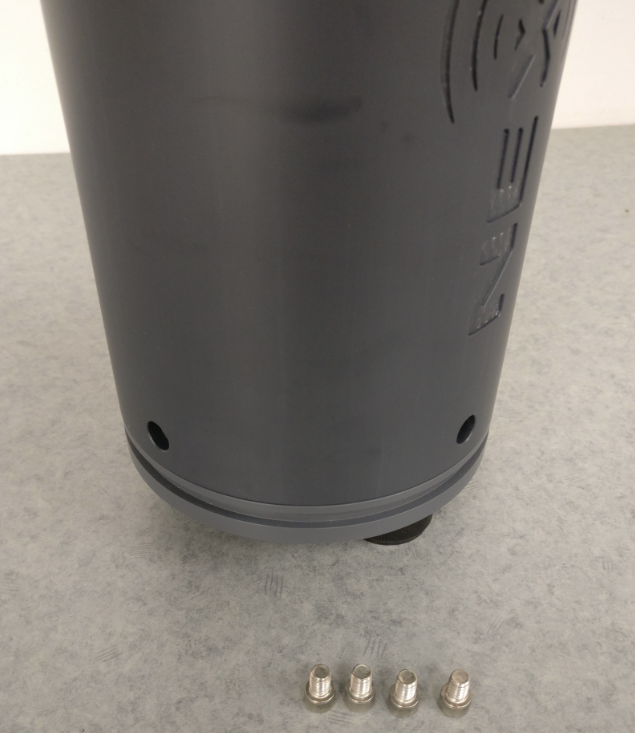
Removal of the four bottom screws
- Carefully pull the bottom bulkhead off of the SDL V2.
- Note that two connections for the battery and RF antenna (on cellular models) will be connected to the main body and can be damaged if pulled hard.
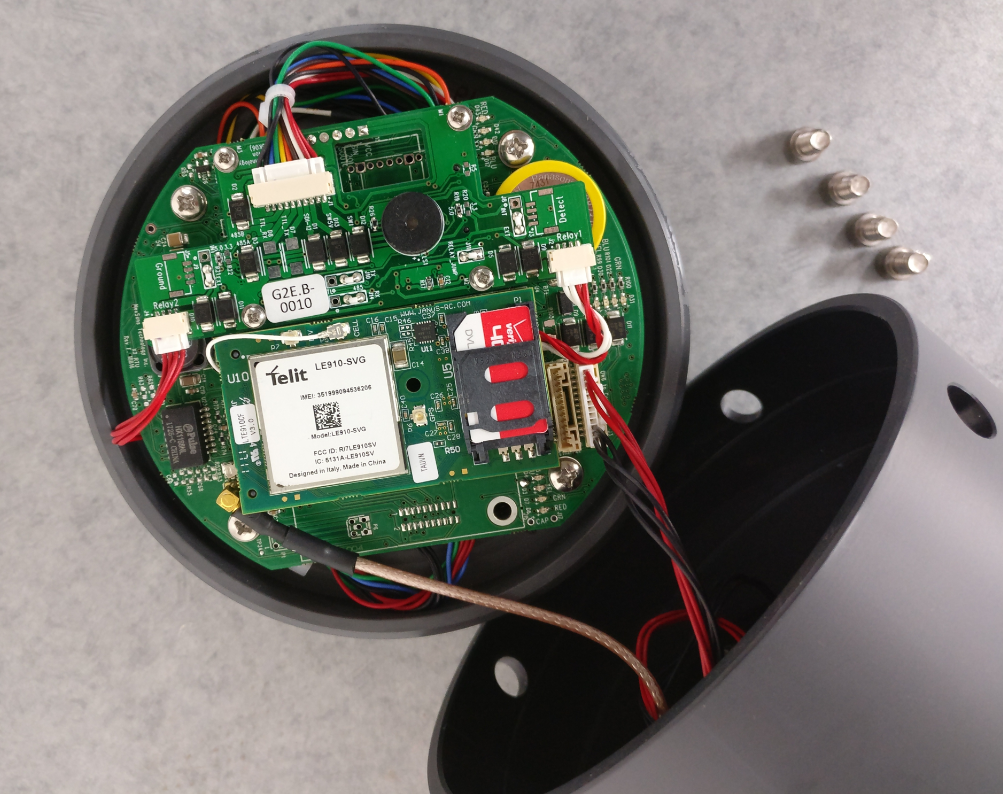
Removal of the bottom bulkhead
- Locate and remove the four Phillips-head screws and lock-washers holding the circuit board to the bottom bulkhead.
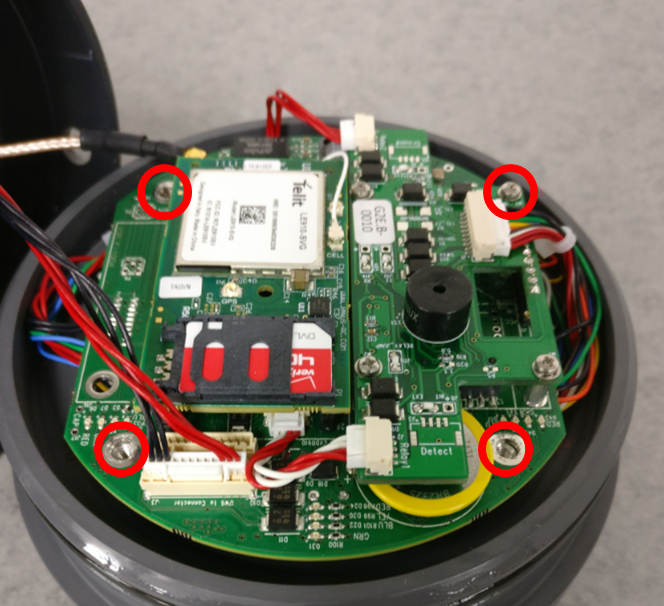
Location of four set screws
- Gently tip the board to view the underside and reveal the SD card slot underneath.
- If removal is necessary, gently push the card towards the back of the slot to release the lock.

SD Card Location
- If a script file needs to be updated copy over the NexSens-supplied .lua file into the scripts folder and overwrite the existing file.
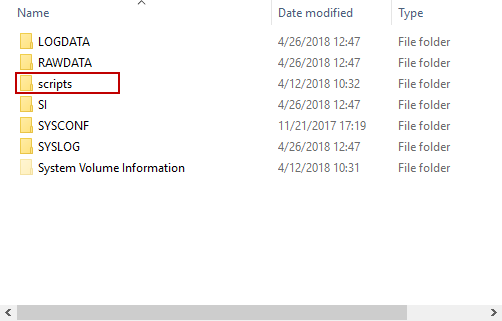
X2 Main-PCB SD Card Files
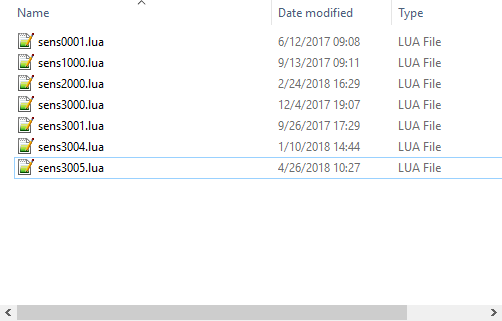
Script files
- If changes to the firmware are required, copy over NexSens-supplied DL100.bin and DL100.crc files.
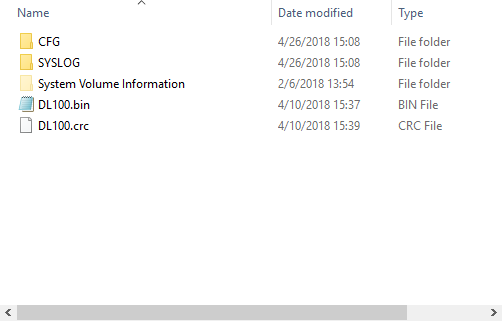
DL 100 firmware folders
- Select the ‘Eject’ option for the SD card from Windows once finished and re-install the SD card into the SDL-V2.