YSI EXO Water Quality Sondes X-Series Integration Guide
Real-Time Water Quality Measurements
The YSI EXO-Series of Water Quality Sondes are compatible with NexSens X-Series data loggers using the SDI-12 sensor interface and communication protocol. Depending on the installed sensor probes, these sondes can measure various water quality parameters selected within the YSI KOR software. A pre-defined script on NexSens X-Series data loggers is able to detect, log, and transmit all parameters available on EXO-Series sondes. Parameter data is transmitted, in real-time, at a user-specified interval (e.g., 10 minutes) to the NexSens WQData LIVE Web Datacenter. There, data is stored on customizable dashboards with statistics and graphical interfaces for each parameter. Users can download and send data reports via Email, FTP, or an API. Below is information on the settings and wiring required to integrate these sensors with a NexSens X-Series data logger.
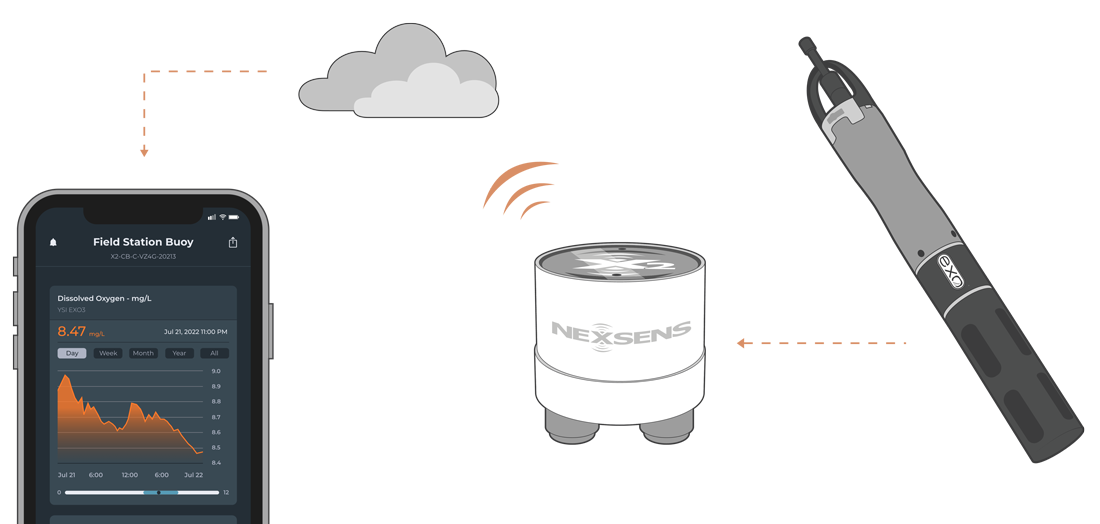
Figure 1: YSI EXO-Series integration with NexSens X-Series data loggers for real-time water quality measurements.
Compatible Models
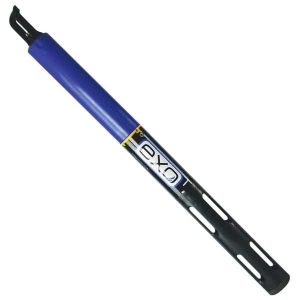
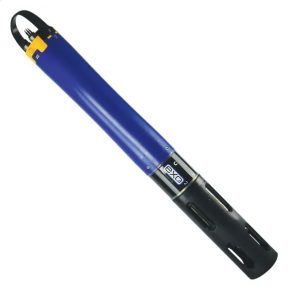
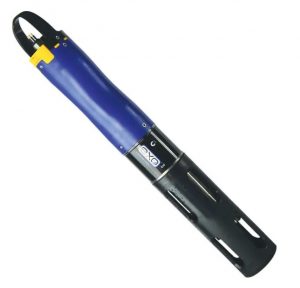
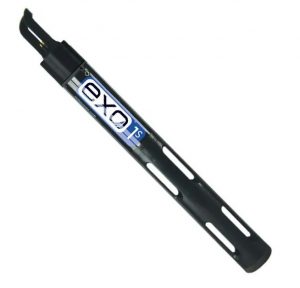
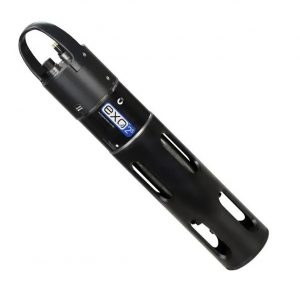
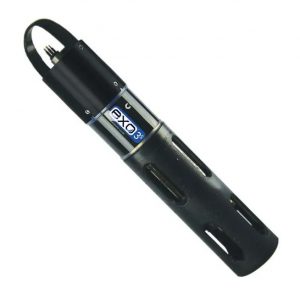
All models within the EXO-Series of water quality sondes, shown below, are compatible with NexSens X-Series data loggers. EXO 1 and 2 models require an external EXO DCP Signal Output Adapter for communication. Adapters can be installed in an A50 junction box for direct wiring or purchased with the NexSens UW-EXO adapter. NexSens produces UW to EXO3 Sonde Cable Adapters for the EXO 3 sonde, which outputs SDI-12 directly.
|
|
|
Sonde Integration
All YSI EXO Water Quality Sondes used with a NexSens data logger must have a template applied, determining the measured parameters and the order they are logged from the sonde. Upon sensor detection, the data logger will read and save the parameter list and SDI-12 address. Thus, any EXO sonde connected to that port on the data logger must have the same parameter list (including the order) and SDI-12 address unless a new sensor detection occurs.
1. Set a Deployment Template
- Download and open the YSI KorEXO software and connect the sonde via the EXO USB Signal Output Adapter or a Bluetooth connection. Click CONNECT.
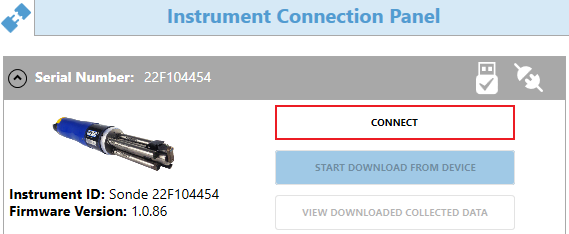
Figure 8: KOR software instrument connection panel.
- Navigate to the DEPLOYMENT tab. Choose one of the three options to create a parameter template:
- Create Template – Create a new template.
- Create Template from Sonde – Upload and edit the current template loaded onto the EXO sonde.
- Open Template – Upload an existing template to the EXO sonde.
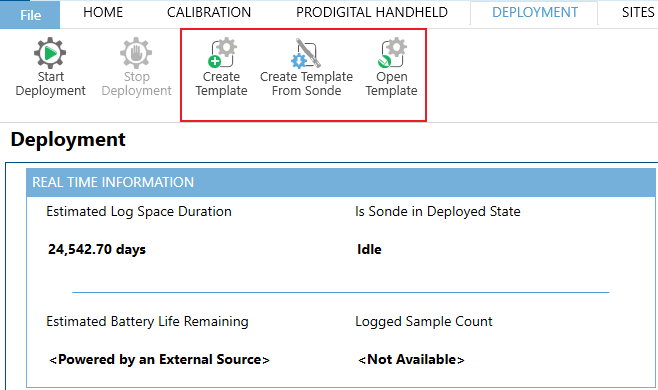
Figure 9: Create or upload a template to the sonde.
Create, Upload, or Add a New Deployment
- In the BASIC DEPLOYMENT SETTINGS, it is recommended to only change the Deployment Template Name and leave all other values as default. The X-Series data logger will provide power to the sonde for each reading; thus, logging internally is unnecessary.
- Note: Since the X-Series loggers provide power to the sonde, it is NOT recommended to install batteries. If the sonde’s internal batteries drop to a low voltage, the EXO will continuously reset and will interrupt SDI-12 communication with the data logger.
- In the DCP ADAPTER OUTPUT, set the SDI-12 address (0-9) and select the required parameters from the list. Ensure to note the units along with the parameter name.
- Review the available parameters for each installed probe in the EXO User Manual from YSI.
- Upon sensor detection, the X-Series data logger will read the parameter list from the Selected SDI-12 Parameters list.
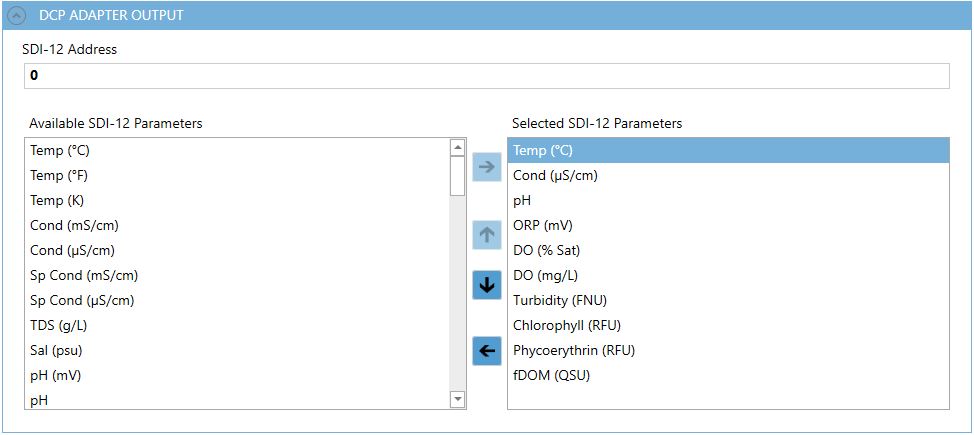
Figure 10: EXO example parameter template.
- In the ADVANCED tab, it is recommended to keep all settings as default. The X-Series data logger will provide power to the sonde, which will wipe once before each reading.
- Once the template is complete, select SAVE AND APPLY TEMPLATE TO SONDE.
- It is not recommended to start internal logging.
Review Parameter Template
After the template is saved, it is recommended to provide at least 15-30 seconds for the sonde to upload the template before disconnecting. To ensure the template is saved correctly, disconnect from the sonde, cycle power (remove power for 30 seconds and then reapply), reconnect to the sonde, go to the DEPLOYMENT tab and select Create Template from Sonde. The template name and parameter list will automatically load from the sonde if the template is saved correctly. If not, load the template again and provide more time after saving.
2. Data Logger Connection
Depending on the EXO model, the sonde will either be connected with a NexSens UW to EXO Sonde Cable Adapter (EXO 1 and 2 models) or a NexSens UW Sonde Cable Adapter (EXO 3). The EXO DCP adapter converts the proprietary signal from the sonde into SDI-12 signals.
Buoy-Based Systems
For buoy systems, NexSens recommends the UW to EXO Sonde Cable Adapter, which provides a waterproof enclosure for the DCP adapter, with external connections between the sonde and X-Series data logger.
Pole-Mount Systems
For pole-mount systems, the DCP adapter can be mounted within a waterproof NexSens A50 junction box, with internal wiring between a NexSens flying lead plug cable and a YSI EXO flying lead cable or NexSens MCIL6-FS flying lead cable. Follow the link below to properly wire a DCP adapter into an A50 junction box for connection with an X-Series data logger.
3. Automatic Sensor Detection
After setting a parameter template and directly connecting the sonde to an X-Series data logger, the sonde and its parameters can be programmed onto the logger via automatic detection.
X-Series Logger Detection and Script Information
The X-Series data loggers include a pre-loaded EXO Sonde script, which is enabled by default upon shipment. For new data loggers, connecting the sonde and providing power will force the data logger to run through an automatic detection process.
For loggers with adjusted settings, use the link below to confirm the EXO Sonde script is enabled before running a sensor detection.
| Logger Script Number | Sensor Interface | Baud Rate | Power Type | Warmup Period (sec) | Frame |
| 2000 | SDI-12 | 1200 | Switch | 30 | E71 |
Read Sensor Configuration – Confirm Sensor Detection
After ~5-10 minutes, read the sensor configuration to confirm the EXO sonde and other sensors have been detected on the data logger. Thoroughly review the parameter list to ensure all parameters are accounted for and are measured in the desired units. Let the unit gather a few readings to confirm accurate and reasonable parameter data.
If a YSI EXO Sonde is not detecting on a NexSens X-Series data logger after following the integration guide, below is a link outlining a few common reasons that should be reviewed.
Why is an EXO Sonde Not Detecting?
4. Setting up WQData LIVE
Once an X-Series data logger has finished a new sensor detection, it will automatically push the sensor configuration to the WQData LIVE web data center. Follow the three articles below to create a WQData LIVE account and a project/site. Then add the data logger to the project using the included claim code.
- Create a WQData LIVE Account
- Create a Project on WQData LIVE
- Add a Data Logger to a Project on WQData LIVE
Real-Time System Application
Real-time water quality measurements from the YSI EXO-Series of Multi-Parameter Water Quality Sondes are useful in various environmental monitoring applications.
Applicable Systems
Discover applicable uses for the YSI EXO-Series of Water Quality Sondes.
- Acid Mine Runoff Monitoring Systems
- Turbidity Monitoring Systems
- Dissolved Oxygen Monitoring Systems
- HABs Detection Systems
- Inland Lake Monitoring Systems
- Large Lake Monitoring Systems
- Source Water Monitoring Systems
- Stream and River Monitoring Systems
Case Studies
Read about specific applications using YSI EXO-Series of Water Quality Sondes.
- Tracking Lake Erie Hypoxia
- Educational Lake Data Buoy
- Karst System Groundwater Monitoring
- Real-Time Beach Monitoring
- Monitoring Toledo’s Water Crisis
- ………and many more!
Water Quality Measurements
Learn more about water quality measurements on the NexSens Blog Page. Blog posts specifically regarding YSI EXO water quality sondes are below:
- YSI EXO Water Quality Sondes and Buoys
- Water Quality Sensor Options
- Nutrient Monitoring – Nitrate
- Source Water Monitoring – Raw Water Intake
- Turbidity Monitoring at Dredge Sites
Sensor Manual
For additional information on the YSI EXO Water Quality Sondes, please refer to the YSI EXO User Manual.

