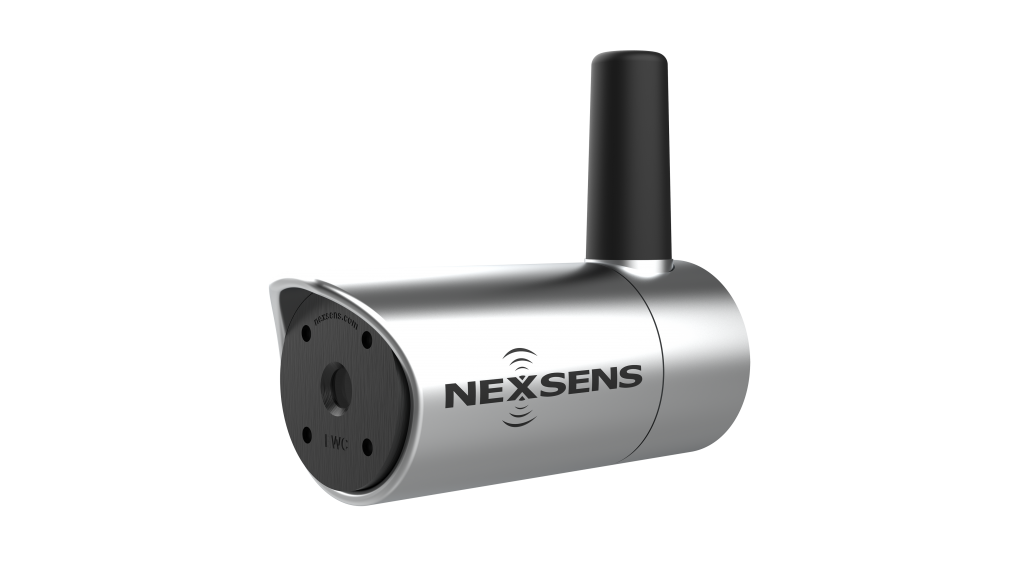
NexSens Environmental Web Camera User Guide
The NexSens EWC environmental web camera offers live-view, time-lapse, and time-video-clip modes with real-time cellular communication. EWC cameras are watertight and able to operate in extreme environments. The internal settings allow users to balance resolution and bandwidth to maximize image quality and cellular responsiveness and are adjustable via the embedded Wi-Fi. The EWC can be powered by any 12VDC source, including a direct connection with a NexSens CB-series buoy battery or SP-series power pack. The camera accepts sensor measurements from NexSens X2 data loggers and can transmit this information along with imagery to the WQData LIVE cloud datacenter.
Create a WQData LIVE Account and Project
The user must create a WQData LIVE account and project before posting images and videos. Whether the environmental web camera is stand-alone or acting as an X2 RTU, NexSens will provide an identification number that NexSens web engineers will align to the users’ WQData LIVE project. There, images and videos will upload to the Project Gallery at the specified interval outlined in the EWC dashboard settings described below. If used as an X2 RTU, it is important to use the claim code to move the X2 data logger into the newly created project, as sensor data will upload to the project location.
Connect to the EWC Dashboard
Users can connect to the EWC dashboard using the embedded Wi-Fi module. The embedded Wi-Fi will not be on continuously, thus the user will need to cycle power on the system or wait for the transmit interval for communication with the EWC dashboard. During deployment, the embedded Wi-Fi will be on for 5 minutes at the beginning of each transmit interval.
Cycle Power
If the camera is not currently powered, the embedded web will be available once power is applied. However, if the camera is already powered, follow the steps below to cycle power on the unit to access the embedded web.
- Disconnect the power source from the back of the camera.
- Remove the cap covering the power switch.
- Push in on the power switch for ~45 seconds until the green LED turns off completely.
- Re-install the cap and provide power to the camera.
Embedded Web
The embedded Wi-Fi within the environmental web camera can be accessed by providing 12VDC power to the EWC and waiting for the Wi-Fi network to display on a phone, tablet, or PC.
- Choose the proper SSID and enter the following URL in a web browser:
- 192.168.2.2
- The EWC dashboard should appear in the browser.
- Enter the following credentials:
- Username: ewcadmin
- Password: NexSens01

Figure 5: NexSens EWC Dashboard login.
EWC Dashboard Features
Camera Information
Once within the EWC dashboard, a host of information regarding the environmental web camera features is available, such as the name, body tag, associated static IP address, and available storage. The camera upload information displays whether video and image collection is enabled, along with the last and next upload time.
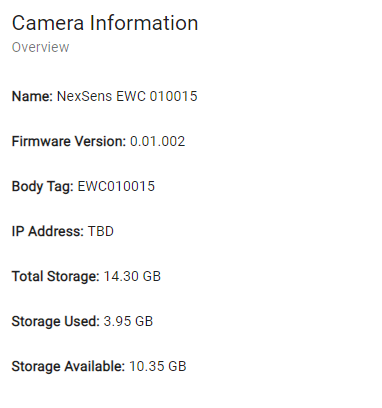 Figure 6: Camera internal features and information. | 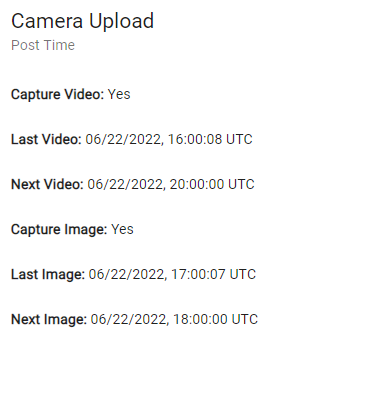 Figure 7: Video and upload settings. |
Gather a LIVE Stream
Live video streams are available to view the camera video quality; however, the LIVE video feature requires a large amount of bandwidth. Only use this feature while determining the best video resolution for your application.
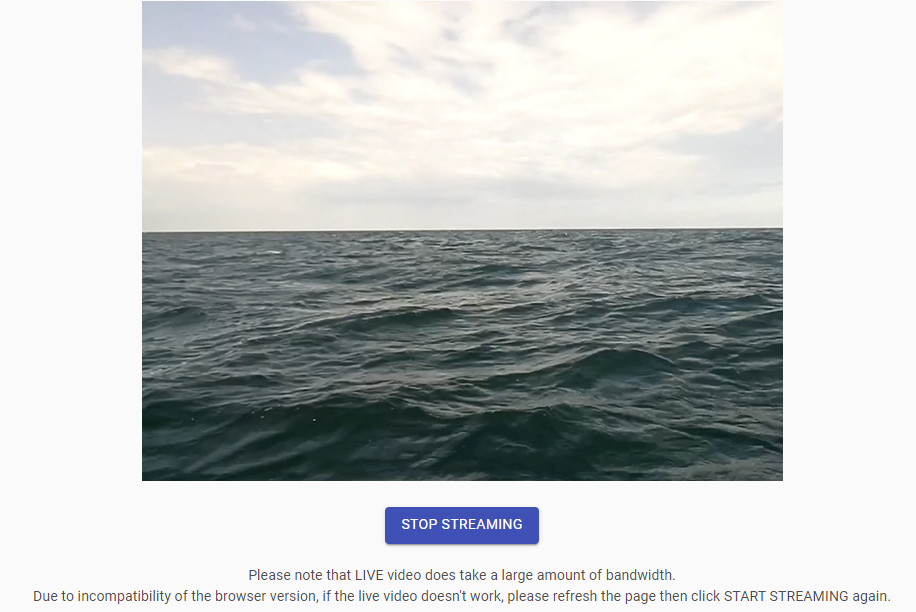
Figure 8: EWC Live Stream.
Camera Settings
Note: For the following settings, ensure to REFRESH the page before making adjustments and hit SAVE before continuing to a new tab.
The video quality, image quality, capture interval, and video duration all determine the resolution and bandwidth used during each capture. Full resolution photo files (1438×1010) are between 200KB to 1.2MB depending on the complexity of the photo. For example, per month, the user will use between 24MB to 144MB of data to transmit four images daily. The telemetry plan must account for the expected data usage. In most instances, it is preferred to use an oversized data plan until the exact monthly usage is known. If data overages occur, the video/image resolution, interval, and duration can be adjusted to fit the data plan requirements.
Adjust Video Settings
Video settings allow the user to enable or disable videos, adjust the timeframe when videos can be taken, and change the video frequency, quality and duration. Additionally, the video overlay may be adjusted for aesthetic or application purposes.
The example below allows the environmental web camera to capture videos from 9:00 AM to 1:00 AM every 240 minutes (every 4 hours). The video duration is 10 seconds with a resolution of 1920 x 1080 (16:9) and a video overlay stating “NexSens EWC010015”.
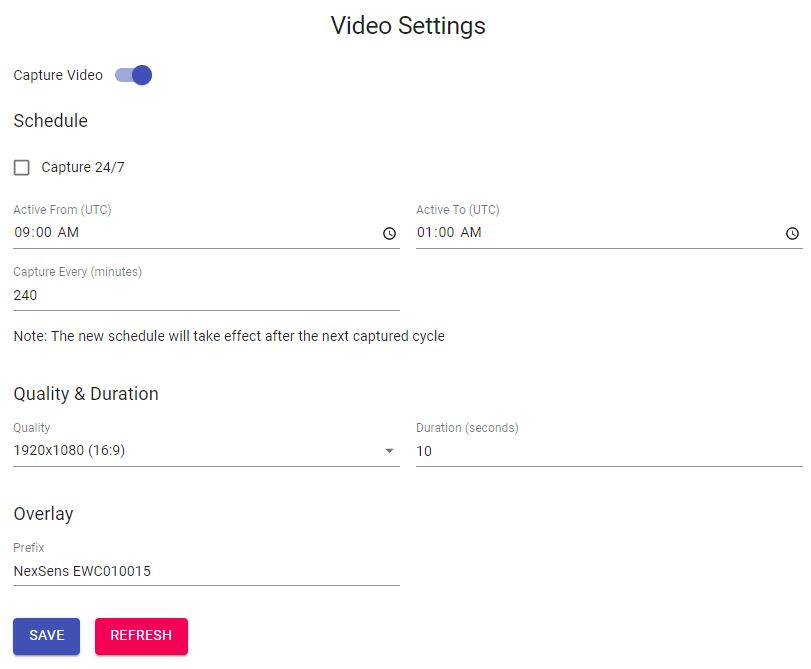
Figure 9: NexSens EWC010015 video settings.
Adjust Image Settings
Similar to video settings, image settings can be adjusted to determine the number of photos taken each day, along with their quality and an available overlay for the imagery.
The example below allows the environmental web camera to capture images from 9:00 AM to 1:00 AM every 60 minutes. Each image will have a resolution of 958 x 720 (4:3) and an image overlay stating “NexSens EWC010015”.
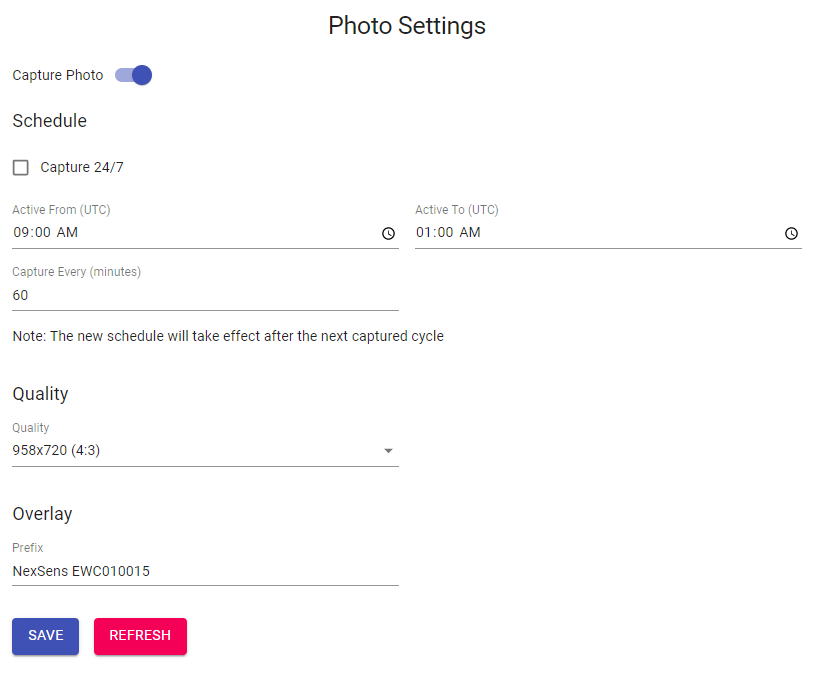
Figure 10: NexSens EWC010015 image settings.
System Settings
Night vision is necessary if the video and image settings enable the environmental web camera to take captures during nighttime. These nighttime hours will change depending on the location and time of year. It is imperative to avoid setting this timeline during any daylight hours as the videos or images will become skewed by the night vision feature.

Figure 11: NexSens EWC010015 system settings.
Set Cellular Settings and Test Telemetry
Note: Before purchasing a SIM card, review the cellular signal strength at the final deployment location, the data plan size required, and the APN required for cellular communication. The environmental web camera houses a mini 4G SIM card (2FF size, 25mm x 15mm) and must have a Machine to Machine data plan.
The APN, or Access Point Name, is associated with a cellular carrier and their provided SIM card to provide access between the carrier’s network and the internet. APN information should be given to the user from the cellular provider when purchasing a new SIM card.
- Enter the appropriate APN in the available space and click SAVE.
- Check cellular coverage by pinging one of the listed domains such as Google (8.8.4.4) and WQData LIVE, or enter another appropriate domain.
- An IP address should be returned from the domain name and all packets should be received to confirm communication.
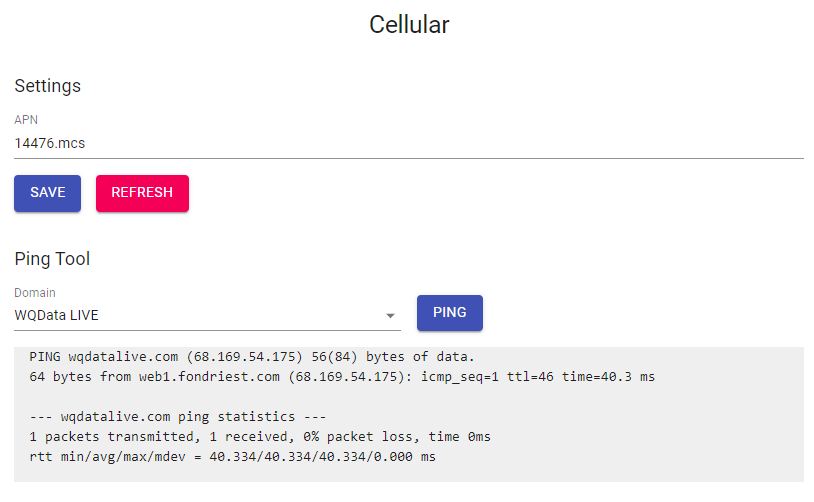
Figure 12: Successful ping to WQData LIVE.
Enable as an X2 RTU and Communicate with WQData LIVE
Once cellular communication has been established, the X2 RTU function should be enabled to allow the camera to push X2 sensor data to WQData LIVE. A UW6-2W should be connected for a power and communication connection between the X2 data logger and a NexSens CB-series solar tower or SP-series solar power pack. All information, including commands sent through WQData LIVE, will be communicated through the internal cellular telemetry on the camera module.
- Set the transmit interval and offset for the camera.
- Note: A higher frequency transmit interval will increase the overall data plan usage and power consumption.
- For a new system, click the Post Setup command.
- This command will push the sensor and parameter list on the X2 to the WQData LIVE web datacenter.
- If backlogged data needs to be uploaded from the X2, push the Upload Data button.
- All logged data that has a timestamp after the latest timestamp on WQData LIVE will be uploaded to the web.
- If new commands are entered through the WQData LIVE command queue, the Pop Command can be sent to immediately apply those new settings to the X2 data logger.
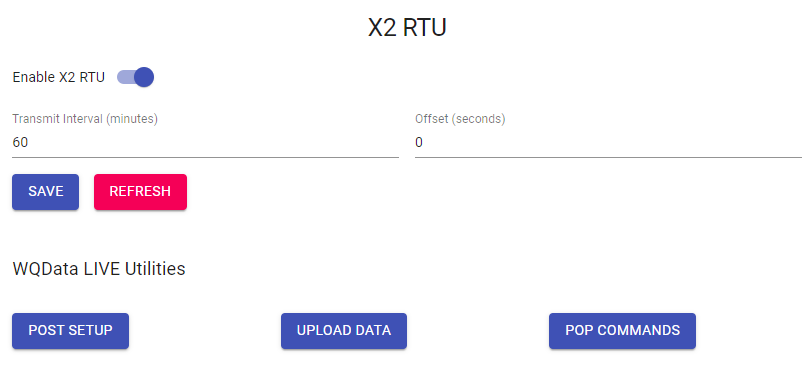
Figure 13: X2 RTU camera features.
View Images/Videos in the Project Gallery
Once all settings are saved, disconnect from the EWC dashboard. The camera will begin uploading images and videos at the specified transmit interval. These images and videos can be viewed in the Project Gallery, located at the top of the WQData LIVE project dashboard. While on the dashboard, users can view the live sensor data, if the camera is acting as an X2-RTU.
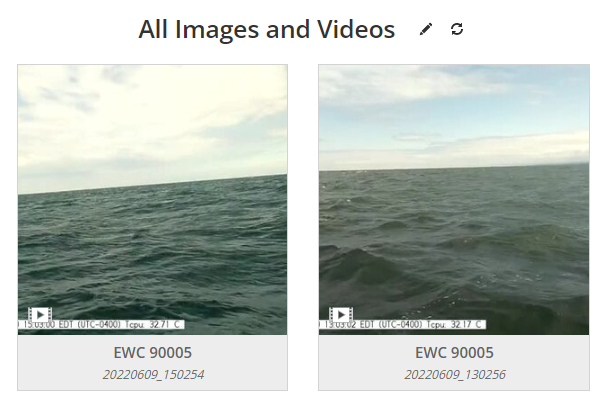
Figure 14: WQData LIVE Project Gallery.
Directly download videos and photos
The EWC contains a USB flash drive device that keeps a record of all recorded videos and photos. The USB flash drive device is removable and files may be downloaded to a PC locally.
- Remove power from the EWC and wait at least 30 seconds to 1 minute for internal current to discharge.
- At the back of the EWC, unthread the black cap labeled ‘USB’ and remove the flash drive.
- Plug the flash drive into any PC and copy the video/photo files.
- Note: The high-resolution video/photos have filenames that contain “_lg” near the end.
- The filename should have the date & time (UTC Timezone) when the video/photo is recorded.
- Once all files are copied, insert the USB drive back into the EWC and re-install the black cap.
Applicable Systems
NexSens Environmental Web Cameras are useful in a variety of environmental monitoring applications.

