Install a SIM Card into an iSIC-V2
While it is always recommended that a SIM card be sent to NexSens for installation prior to shipment, in some cases it may be necessary for a user to install a SIM card themselves. The following article steps through this process.
Caution!!!- Be sure to statically ground yourself prior to touching any of the electronics inside the iSIC-V2 logger
Tools Required:
-9/16″ Socket Wrench
-5/32″ Allen Wrench
- Remove the UW-6 and UW-8 (if equipped) connectors from the base of the iSIC V2 housing.
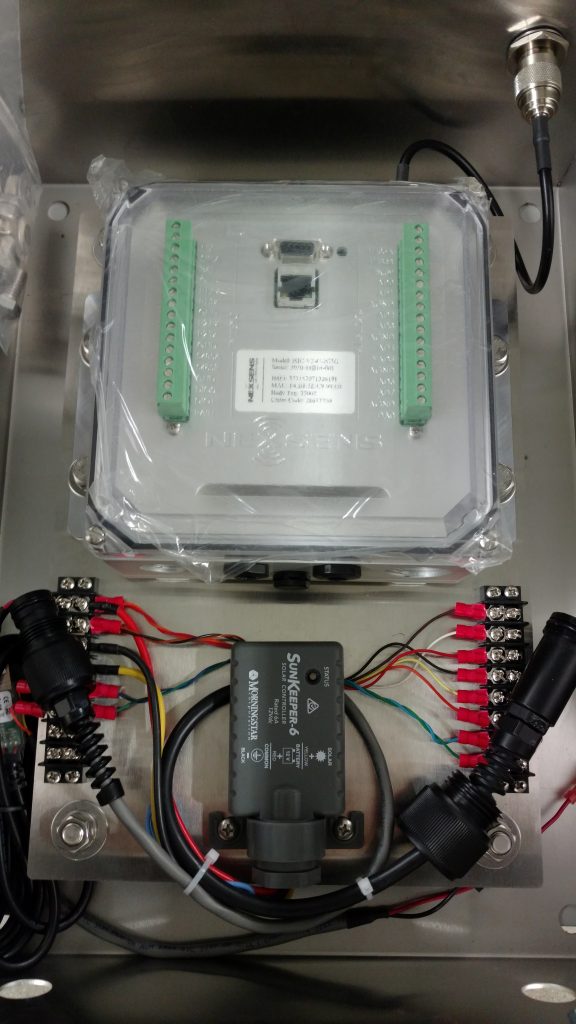
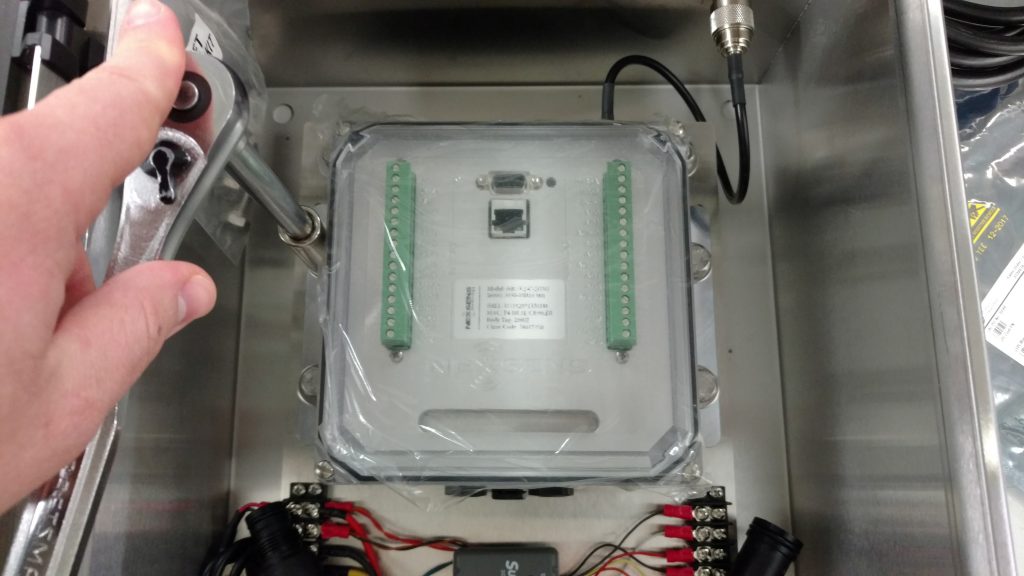
- Remove the (4) 3/8-16 bolts securing the V2 to the AVSS mounting plate using a 9/16 socket wrench.
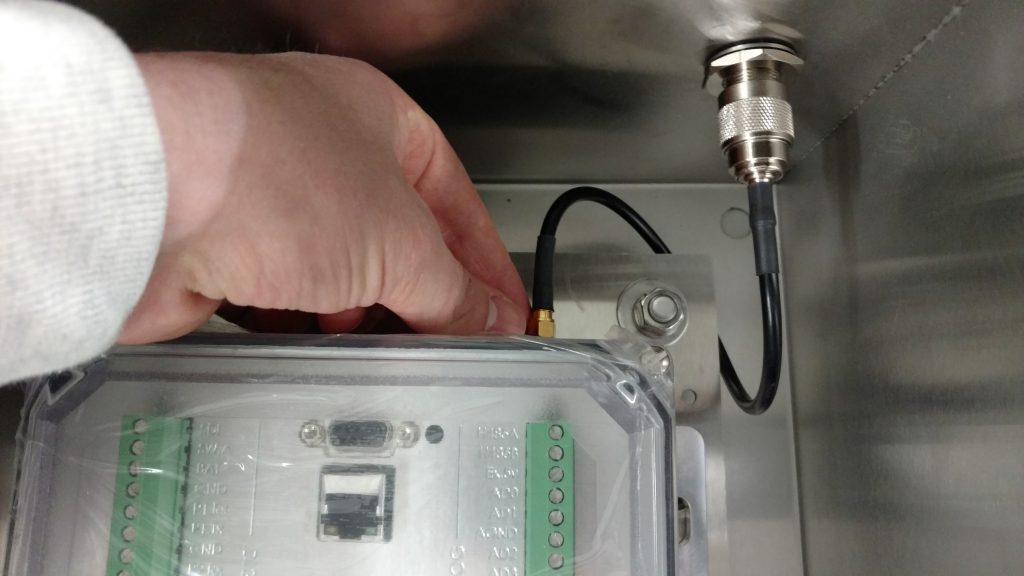
- Loosen and remove the SMA RF connector at the top of the V2.
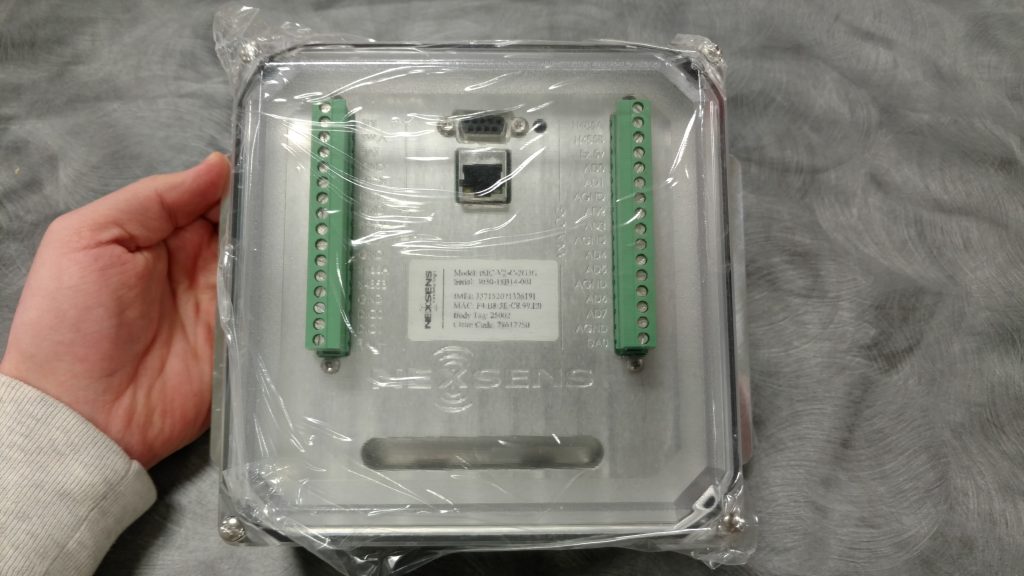
- Remove the iSIC V2 from the AVSS enclosure.
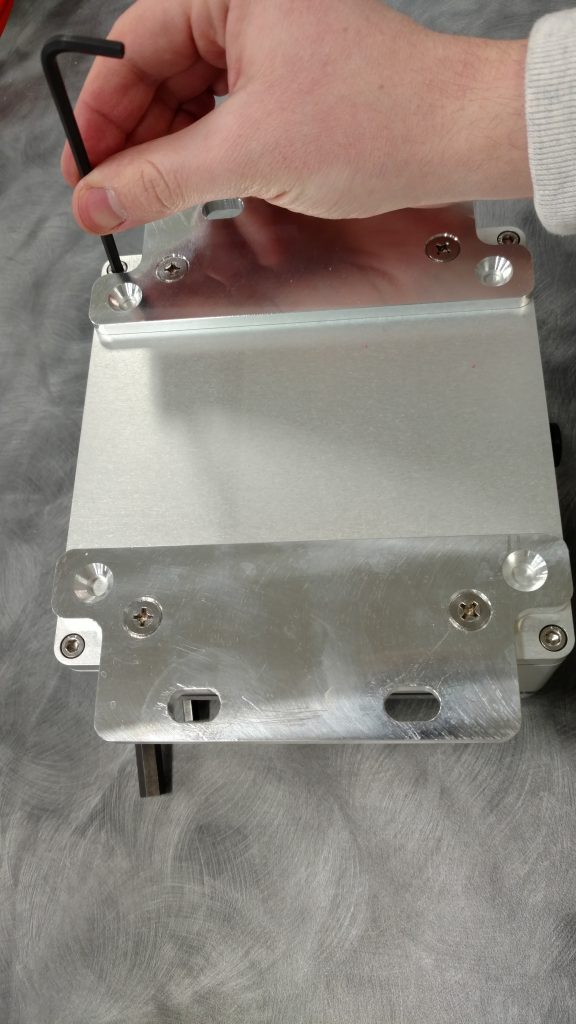
- Use a 5/32 Allen Wrench to remove the four outer screws to lift off the back plate.
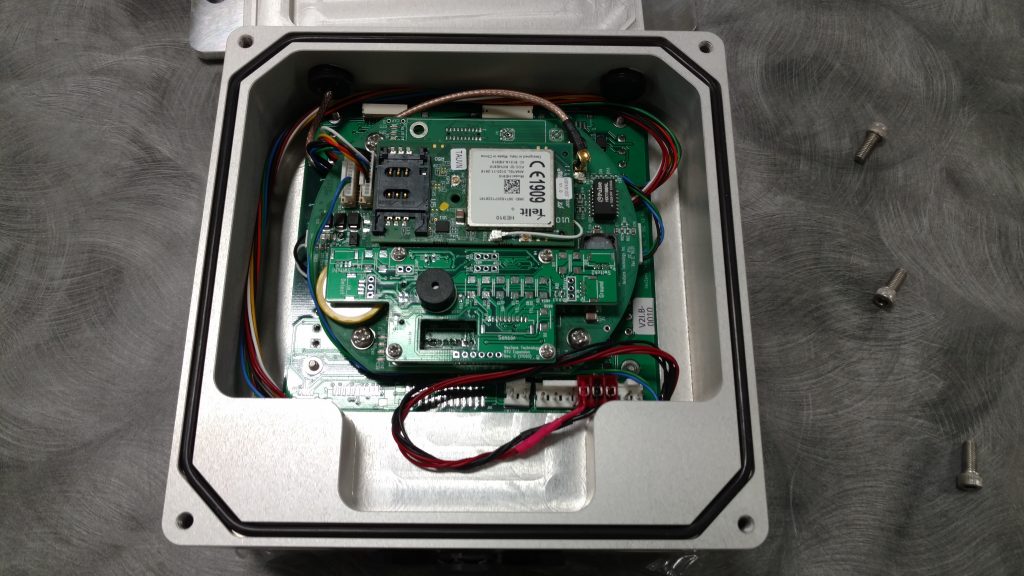
- Remove the back plate to expose the iSIC V2 PCB and Cell Modem.
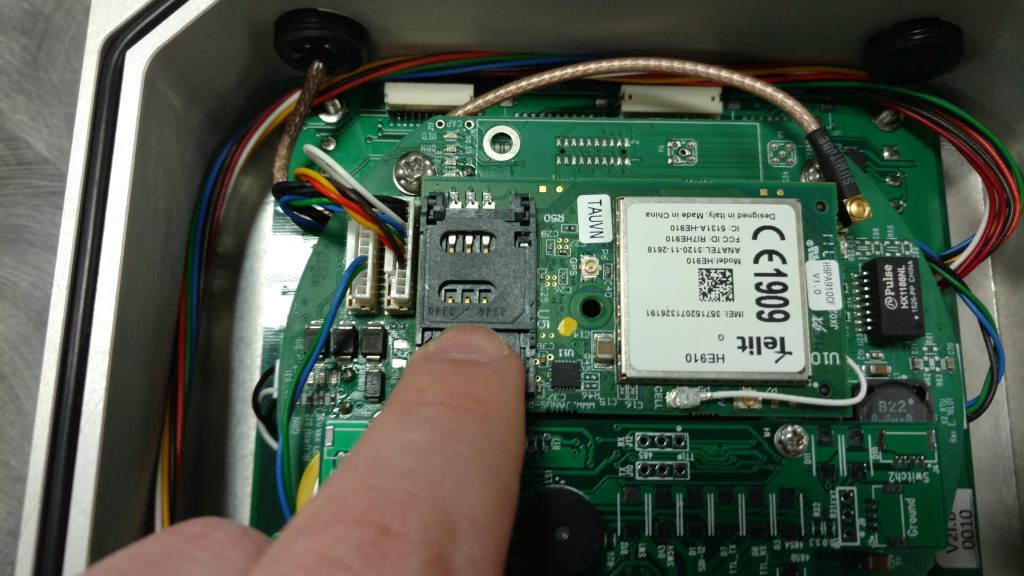
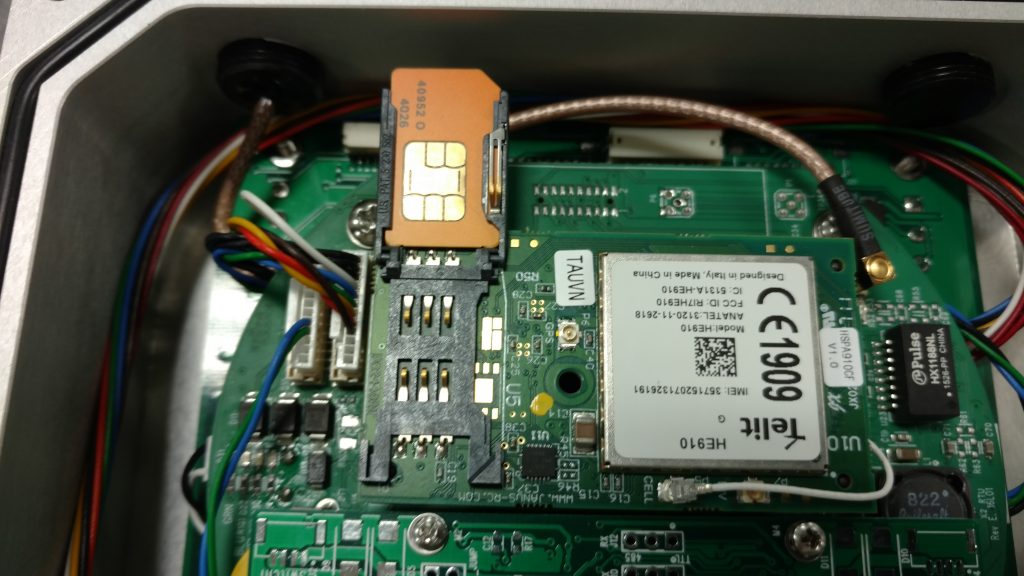
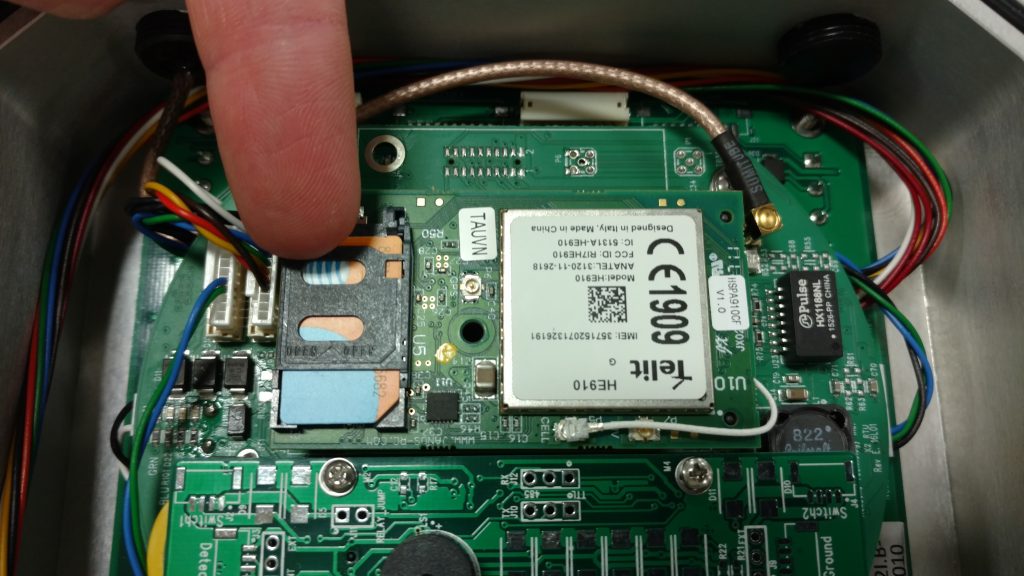
- Locate the SIM card slot and gently push the tray forwards to unlock it as indicated by the inscribed ‘open’ arrow on the tray.
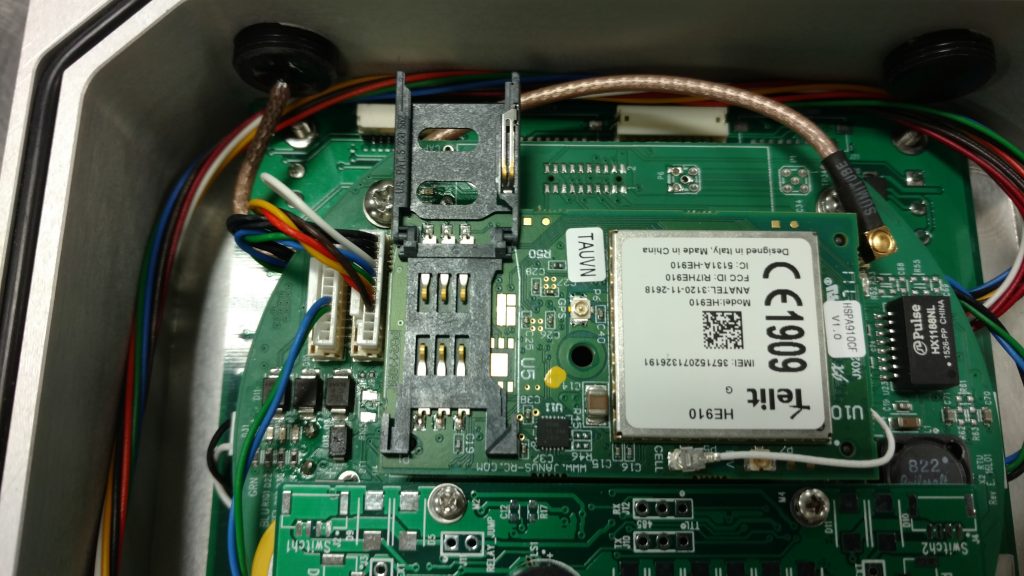
- Swing the tray lid open.
- Place the SIM in the tray such that the indentation on the card will align with the same indentation on the holder when closed.
- Gently swing the tray closed and press upward gently to lock it back into place.
- Re-install the V2 back plate and reinstall the logger back into the AVSS enclosure, following the reverse process beginning with Step 6.
- If the APN has not been set, reference the process here.


